N+Z From Jan 2025 to Feb 2025
I first started work on bringing my Z gauge layout back to life. It had been in my garage for several years, albeit covered, but used to keep small tools and bits and bobs on. To even get the layout to a ‘running’ state would require considerable work.
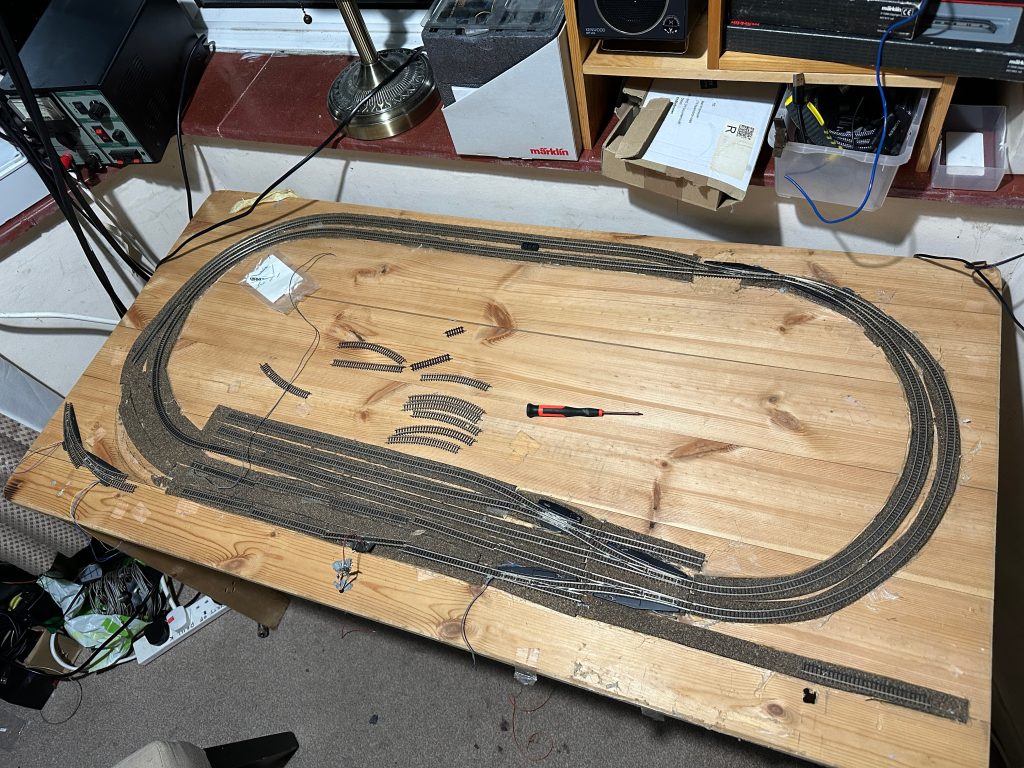
I was happy with the original layout design, and didnt want to lift the cork roadbed up, so wanted to restore the layout as it was to good running condition. Previously I had used DCC control, but with so many years of not being used, wanted to make sure track, turnouts and power allowed reliable control, so started with DC operation.
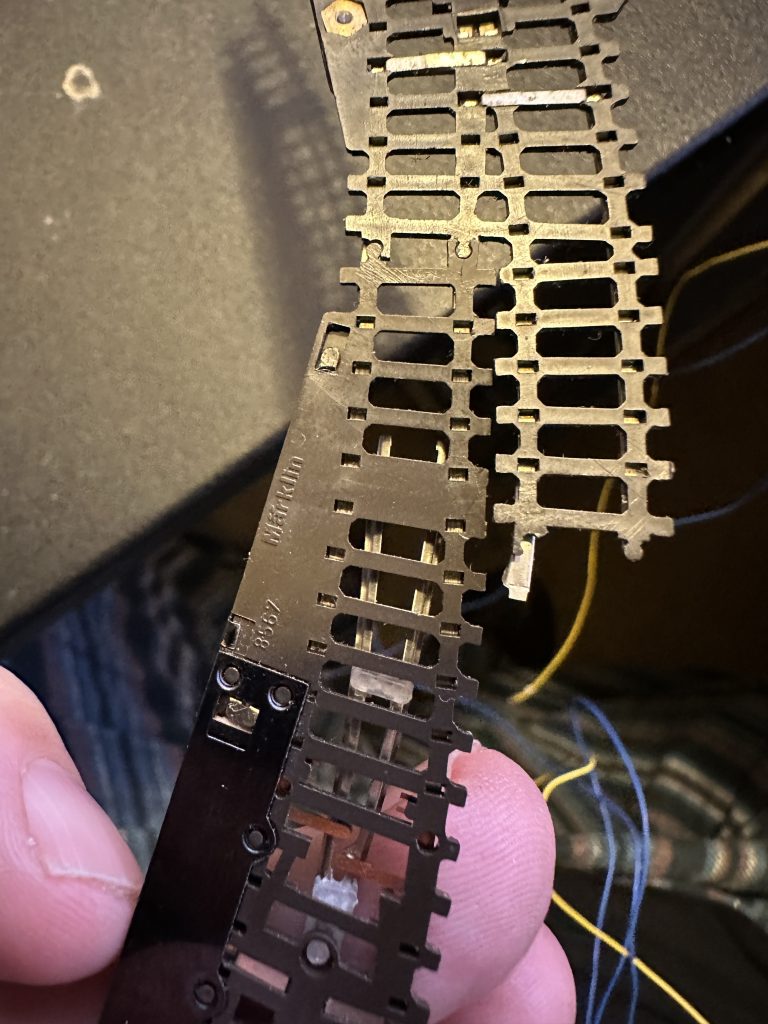
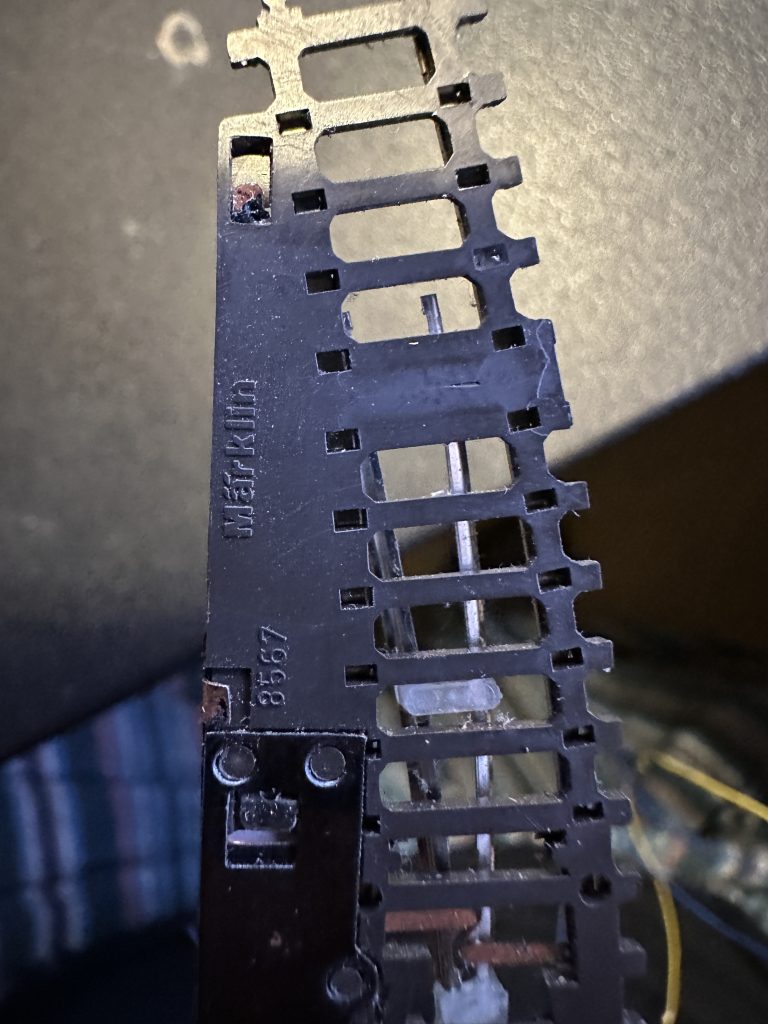
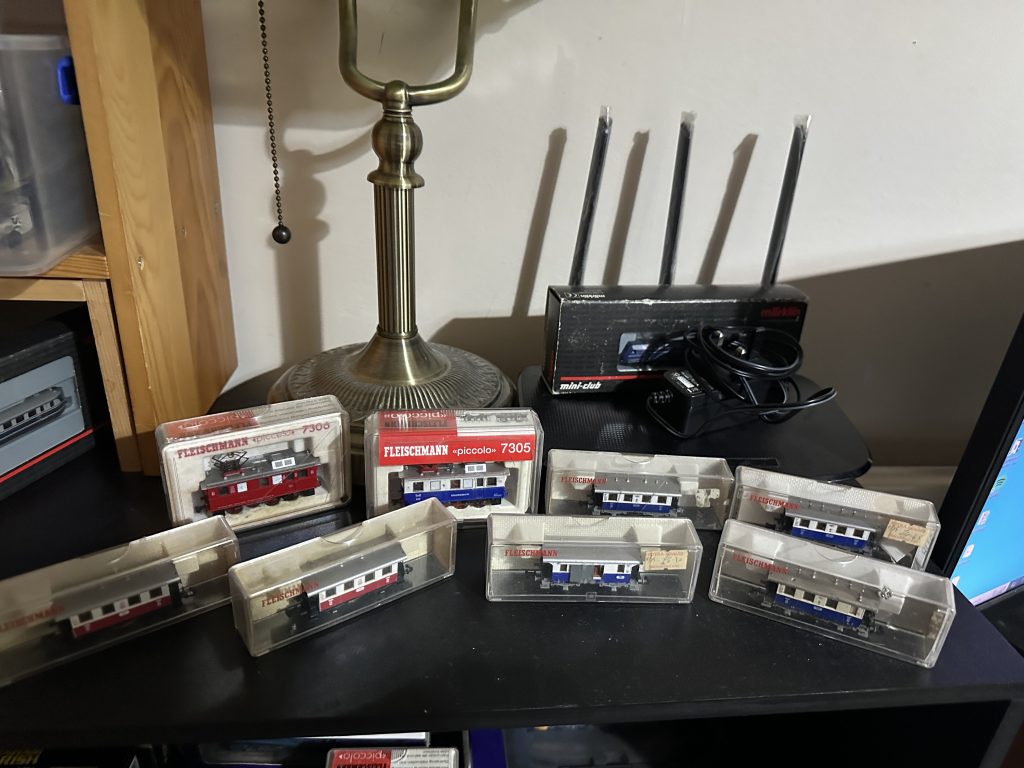
After lifting the track and looking at the original track design several components where either missing or damaged beyond repairable (at my current skill level!) state. I ordered most of the track from ebay, where I could find plenty of Z gauge marklin track – delivery was quick and was impressed in how well packed the track was, despite it being 2nd hand.
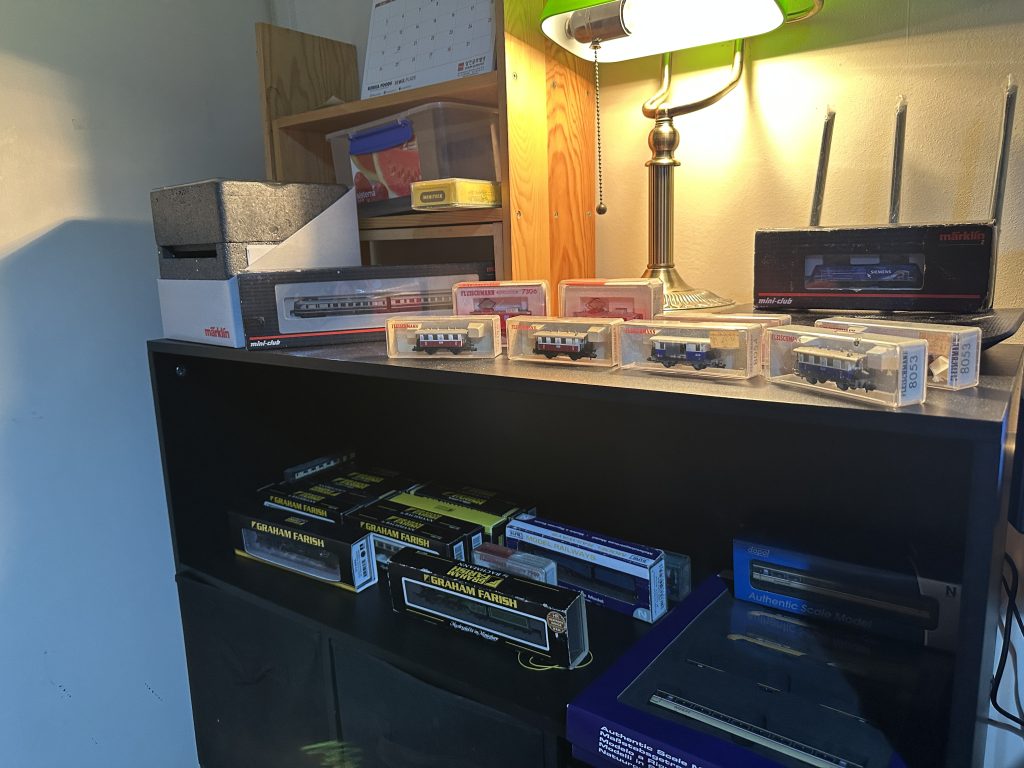
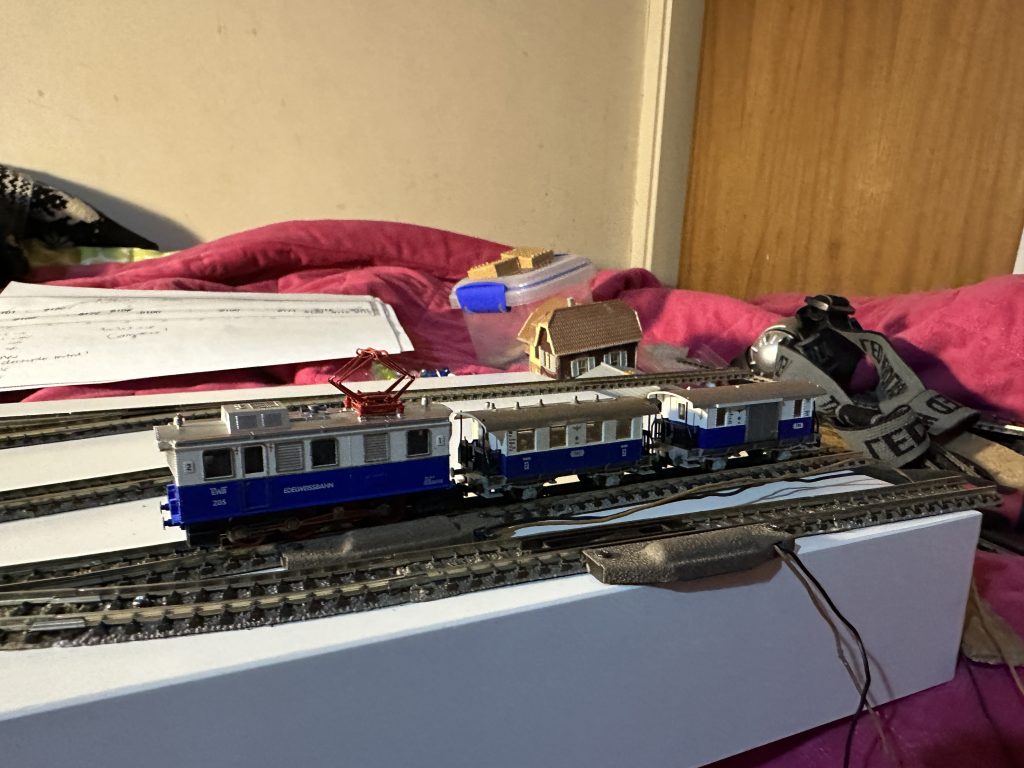
Whilst I waited for my Z gauge components to arrive, i looked at the N gauge trains I have. I used to have a various size N gauge layouts, going from room sized to half room then where I am today, shelf. I still have all the locos, which will need standard maintenance before running.
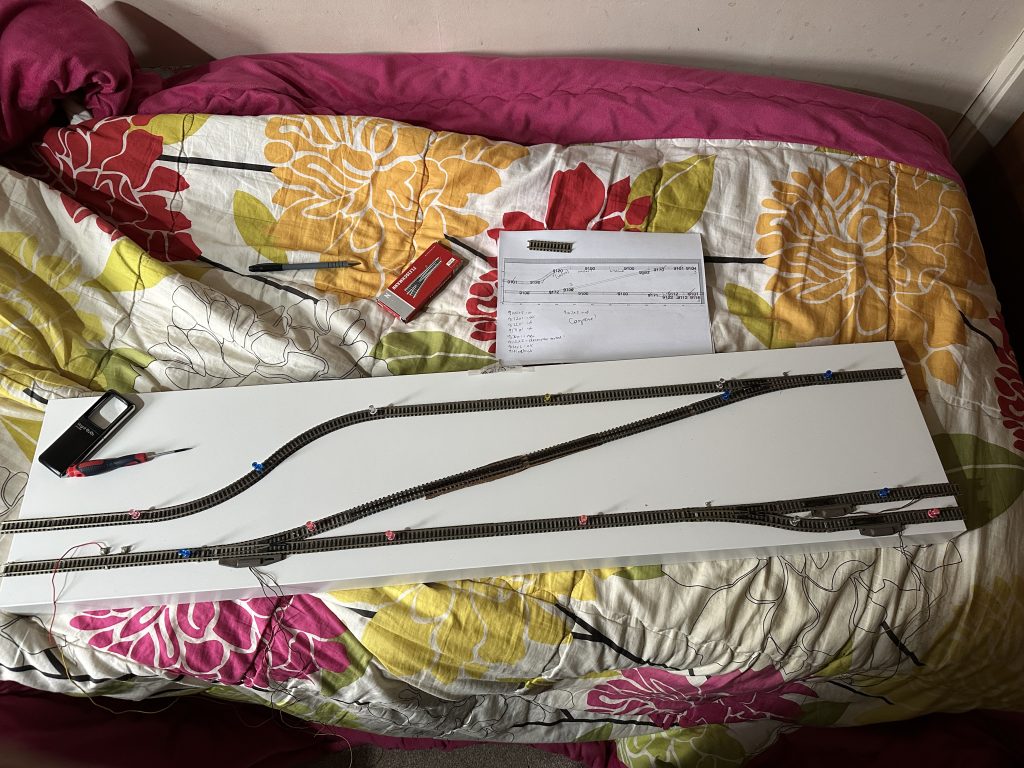
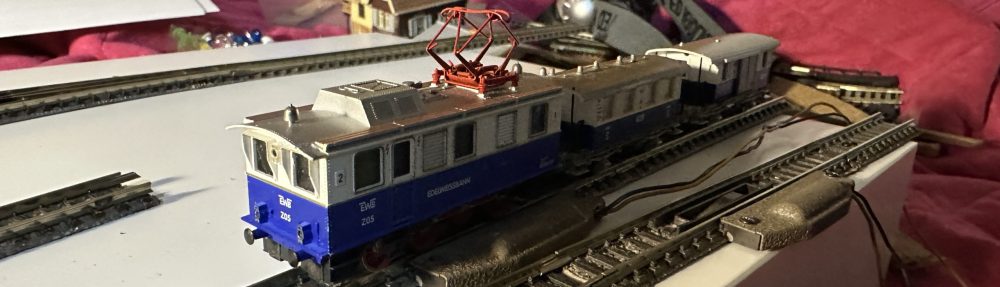
I’m going to focus on building a shelf layout for the rack-rail trains first as it will fit nicely behind my Z gauge layout.
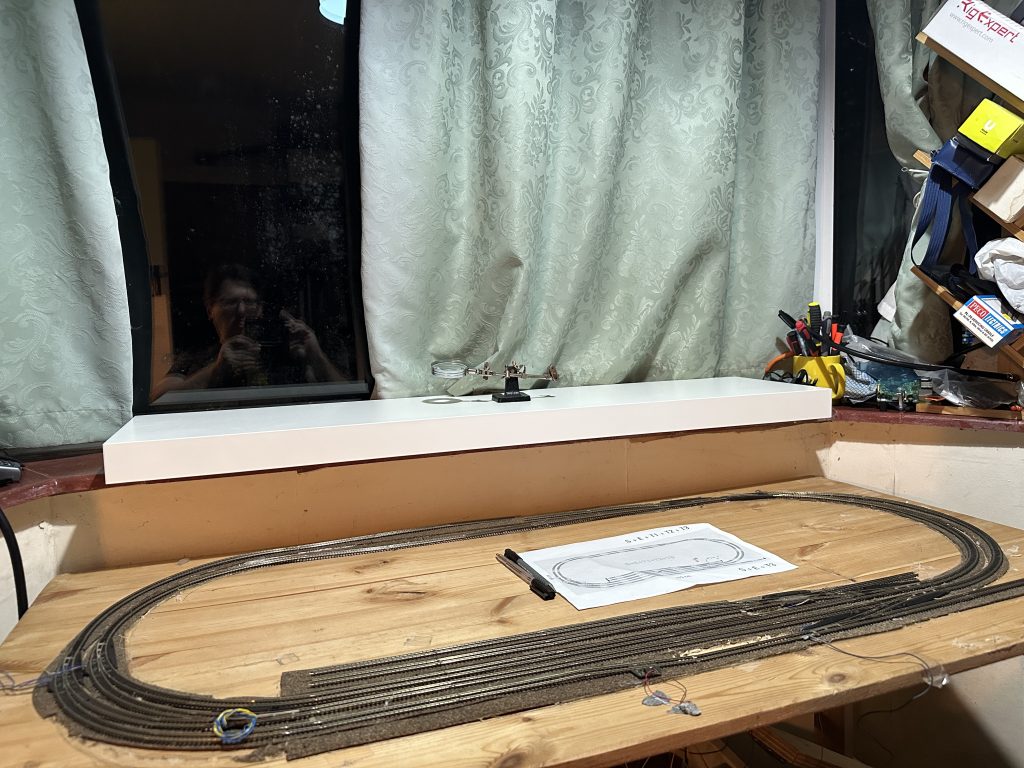
I stated out with a simple design, and as neither the locos or track hadn’t been used for a considerable amount of time, tested at ground level first.

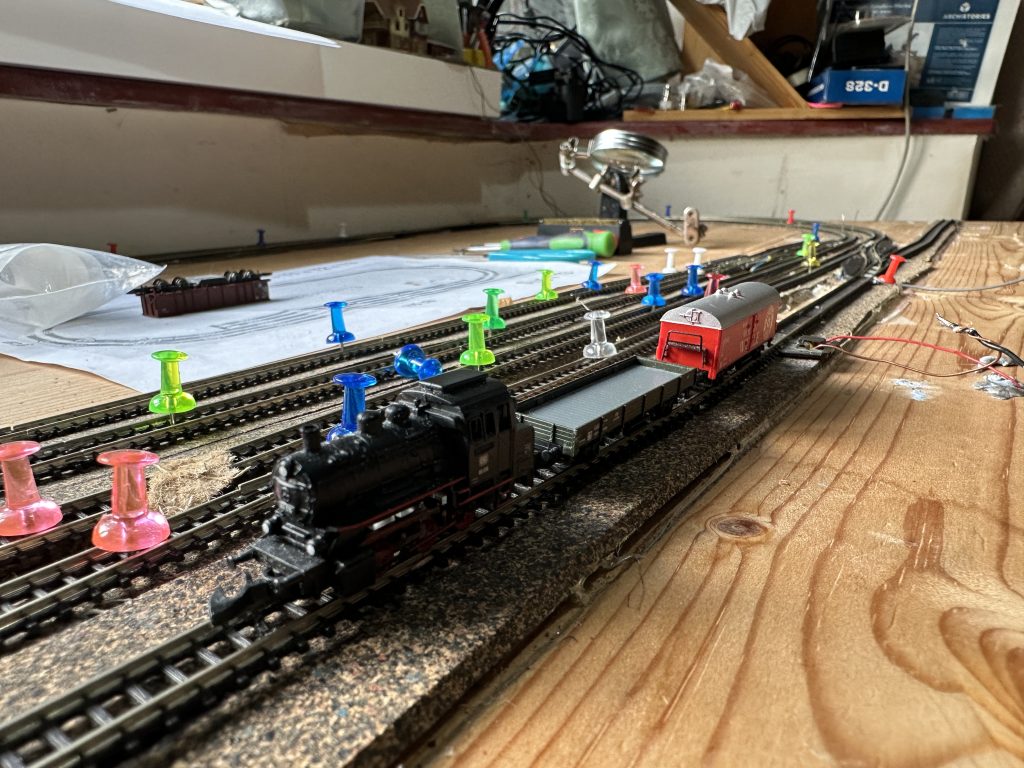
With the track assesed i then went about testing the trains, i have two rack rail trains, the Fleischmann 7305 and 7306.
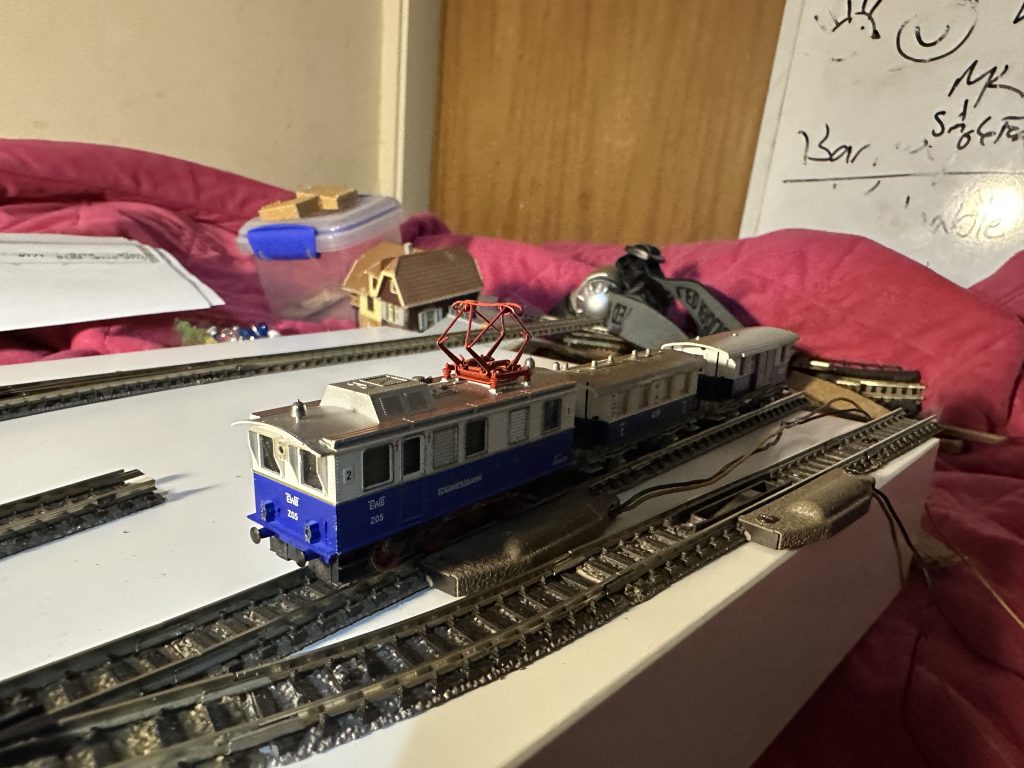
Sadly the 7306 is not running, so have got a new motor to install to it. All these locos are DCC enabled, but much like the Z gauge track, will be going for DC control first, then decide on wether to go DCC again.
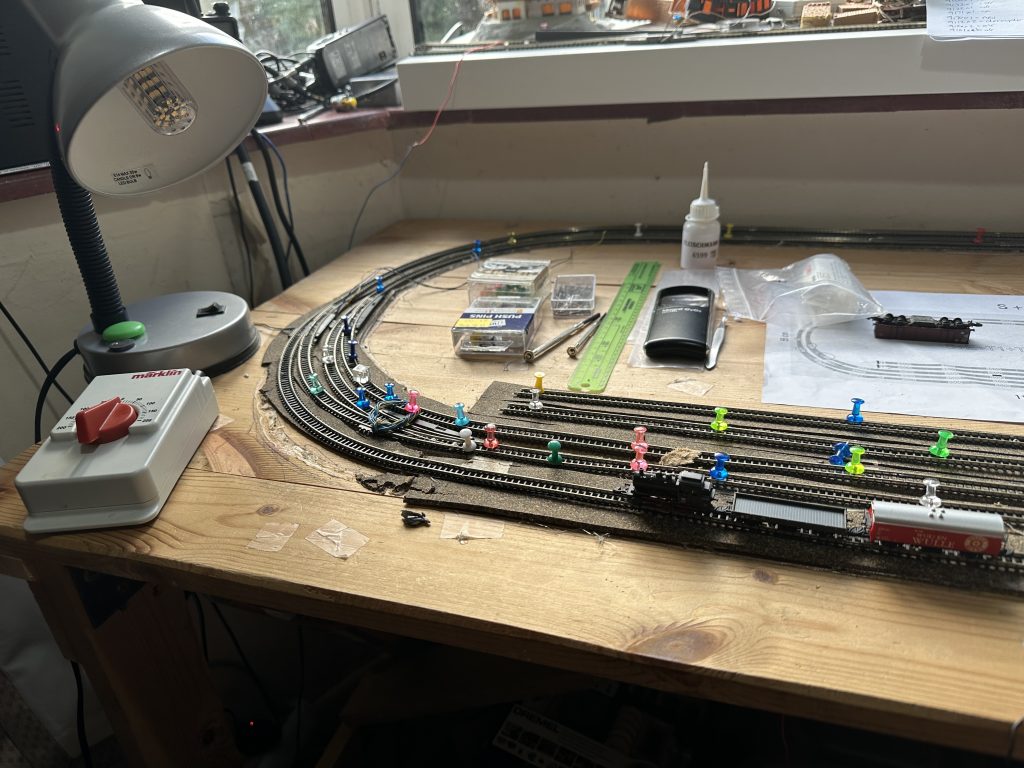
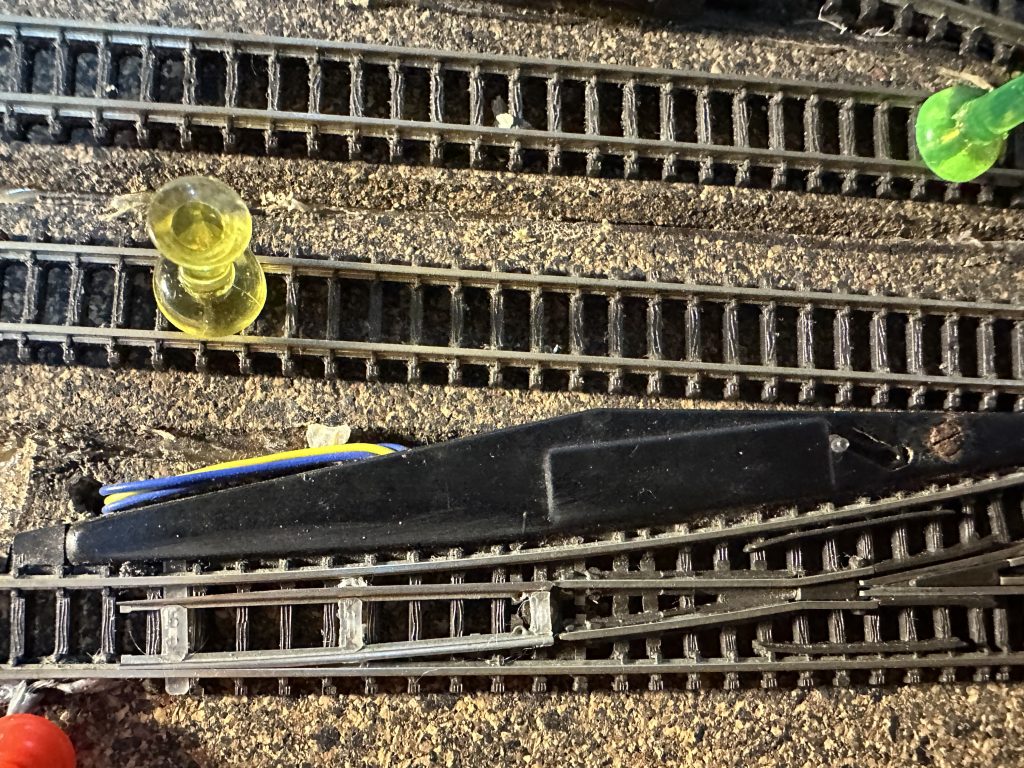
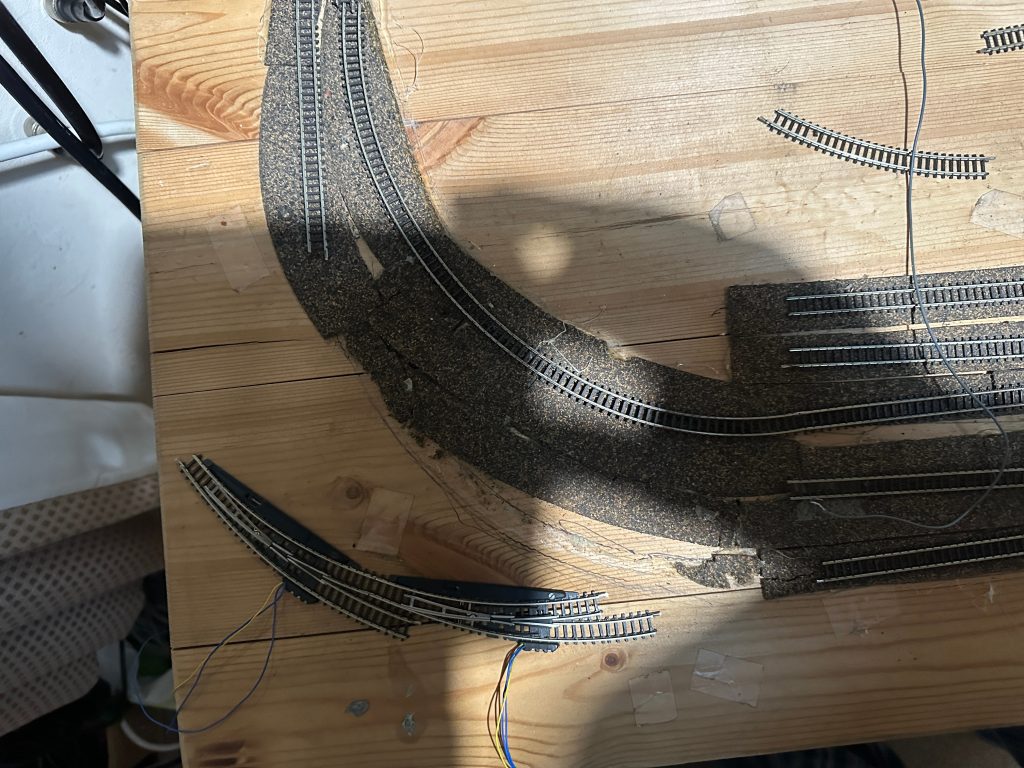
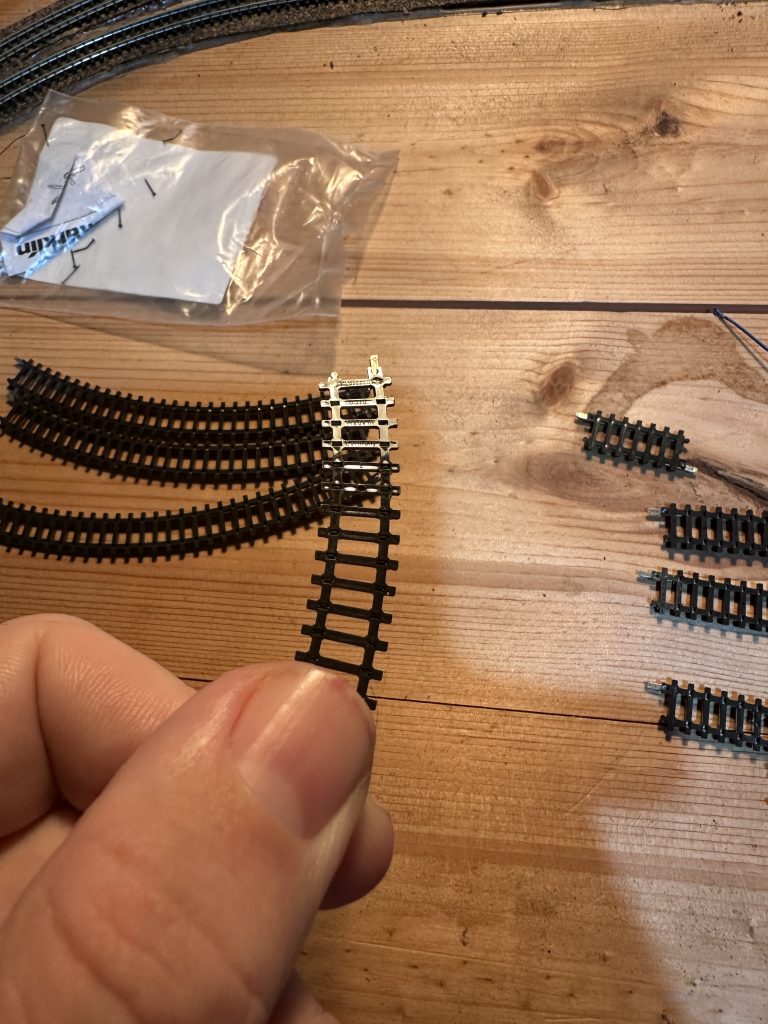
In the mean time, my Z gauge components had arrived, so i was able to rebuild and start pinning down the track. I dont mind saying I found the three-way radius turnouts really tricky to align and fit, bu thankfully they did all fit together nicely and smooth running of the ‘up-line’ was restored.
Getting all the nails in for the marklin track was an exercise in patience, but I do like that, it really focuses my mind on the there and now, and away from all the other things. When the track was laid, I was very happy at what I had accomplished in a realtively short period of time just by doing a little piece each evening.
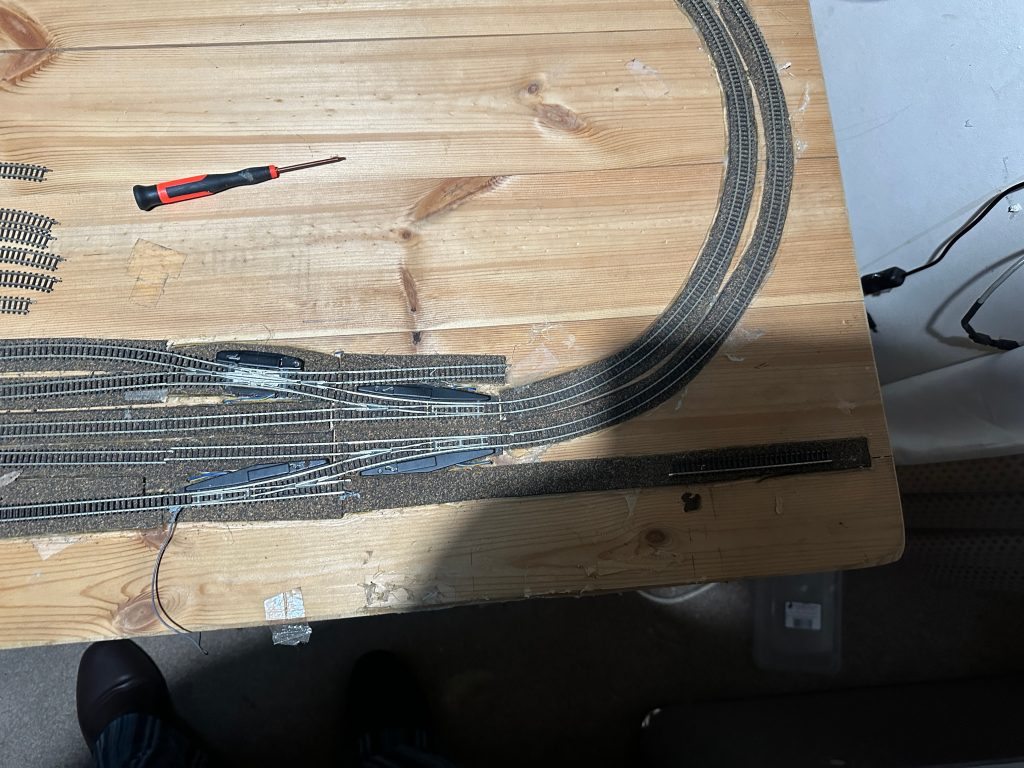
I was now a full month in from getting the Z gauge train back up and running. I started on re-wiring the points control in, sadly the outer points on the curves seem not to work (I hadnt tested before hand ! dowh!), but I can replace these at a later date, for general operation at the moment, they are ok in fixed position or manual control.
Whilst the wiring isnt perfect, i’m glad its working reliably and the little track plan helps me easily identify where the turn out controls are for. Withe Z gauge running back to its original setup, I turned my attention to the N gauge layout.
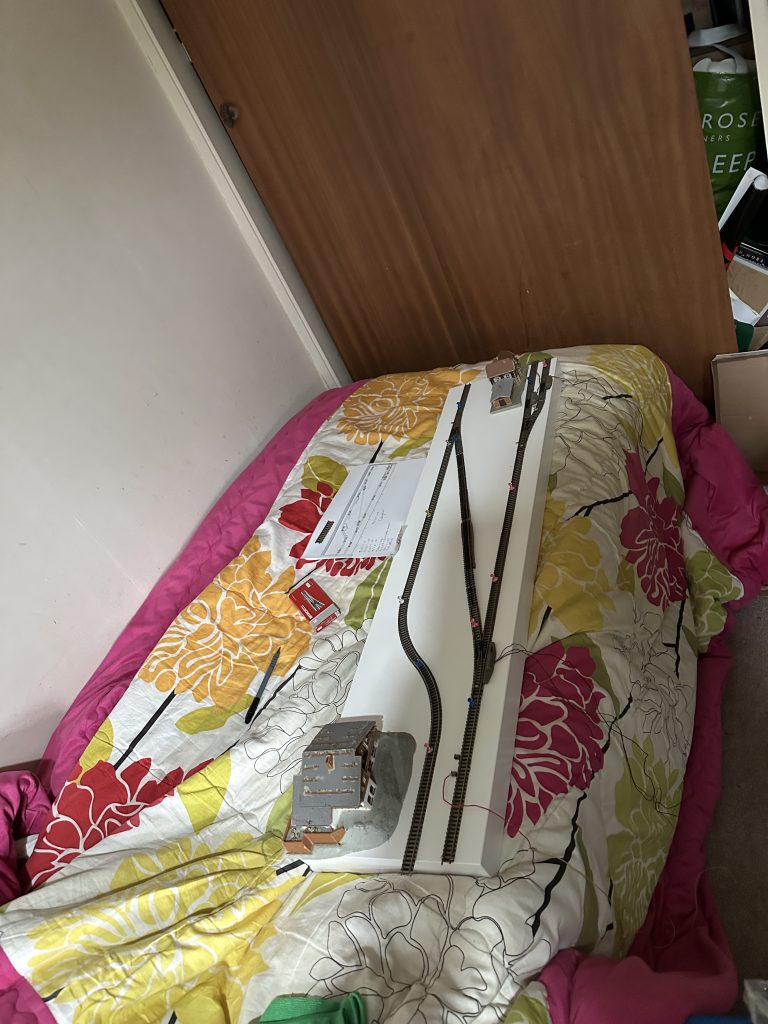
After working on Z, N was quite pleasent to work on, albeit the fleischmann screws again required a great deal of patience to get in correctly, that said the elevated sections would be coming out at some point so the viaducts and ‘hotel’ destination can be used.
I was pleased to try out and slightly modify my design, replacing a shorter section of straight track with a longer piece, allowing the wagons to be de-coupled and reverse on the elevated section. I will need to put some ‘foam’ support on the extended track, but thats worth it to have good operation and control of these exciting rack-and-pinion trains and wagons.
I was glad in just over 6 weeks i have two running layouts, there is lots of work to do but I’m pleased I’m making steady progress and most of all enjoying the model railway hobby again.