An unexpected model train show..

My wife and I reguarly tour the New Forest, as its nearby and changes every time we go out, we are never bored of the ever changing scenery and stunning vistas it presents us. One of the towns we often pass thru is Burley and it was to our suprise that a model train show was on in the village hall !

There was no set entry fee, just a request for a donation, which we glady did. There was some incredble models on display, I’m afraid I didnt get many pictures. I’ve included a video from a previous year, whilst the amazing vidaduct layout wasnt on display, you can see the general standard of laytouts, and generally the size of the venue and the conversations happening.

a brilliant lego layout, one portion of which could be used by members of the public!

What I really liked about this small, but brilliant exhibition of various models was how nice and approachable every single person was. They was happy to have conversations about their layouts, the technicalities and various operation methods. For me, this was far more enjoyable than going to a ‘huge’ exhibition, where the operators are so far back from the layouts and its also too busy to have a conversation. Whillst I thoroughly enjoyed watching this video of the model train exhibition at Alexndra Palace, I think i would struggle to get to enjoy the models and speak to the exhibtiors at peak hours (the creator kindly pointed out he did go at the busiest time, and it does get quieter…)

I shall keep my eye open for more local shows, I have one pencilled in for May 10th at Sompting, which looks like a nice day out with a good exhibition!

z gauge update – 23 March 25

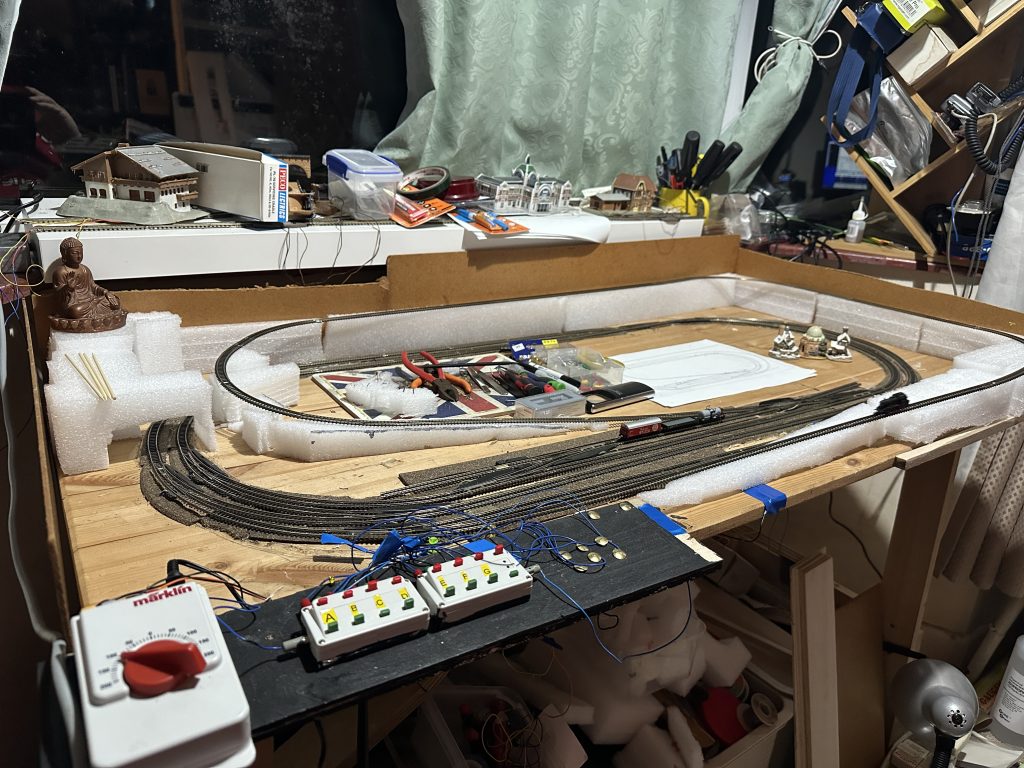
After getting all the ground sections working as well as I can, i set about constructing the elevated sections of my Z gauge layout. I designed the layout in xtrkcad to get an idea of how it would work and what parts I would need.

I was quite pleasently suprised at how few parts I actually needed, mostly the largest part was the two sections of flex-track, which done an excellent job, the rest was parts I already had, such as straights and curves.

I first setup the boundary walls – haven fallen victim to locos quite literally flying off in the past, i didnt want the same fate to befall my Z gauge loco. This also gave the stability to put the foam I had to supprort the track. I was glad I held onto the packing from the computers/servers I had received, as it was very good foam which cut nicely and cleanly.

I’ve been running the loco and its mostly run very smoothly, even with wagons the little loco has no problem at 100% power getting up the incline.

I’m really happy that I found a nice Buddah from a local charity shop – as the layout is inspired by our visit to Japan many years ago. The Buddah in Kamakora is 17m heigh, so given a Japanese loco is around 7m from track to top, my loco doesnt look too bad on scale. I also like the little buildings, when I get some kits i’ll see how they compare in terms of scale, but either way I think they look cute!

Next I’ll be fixing the foam in place and making some more supports for the track, probably using balsa wood so it has something ‘firm’ to attach to.

Thanks for following the blog and hope you enjoying, it goes to show just how much can be done in such a small scale!

24/2/25 – Turnout testing

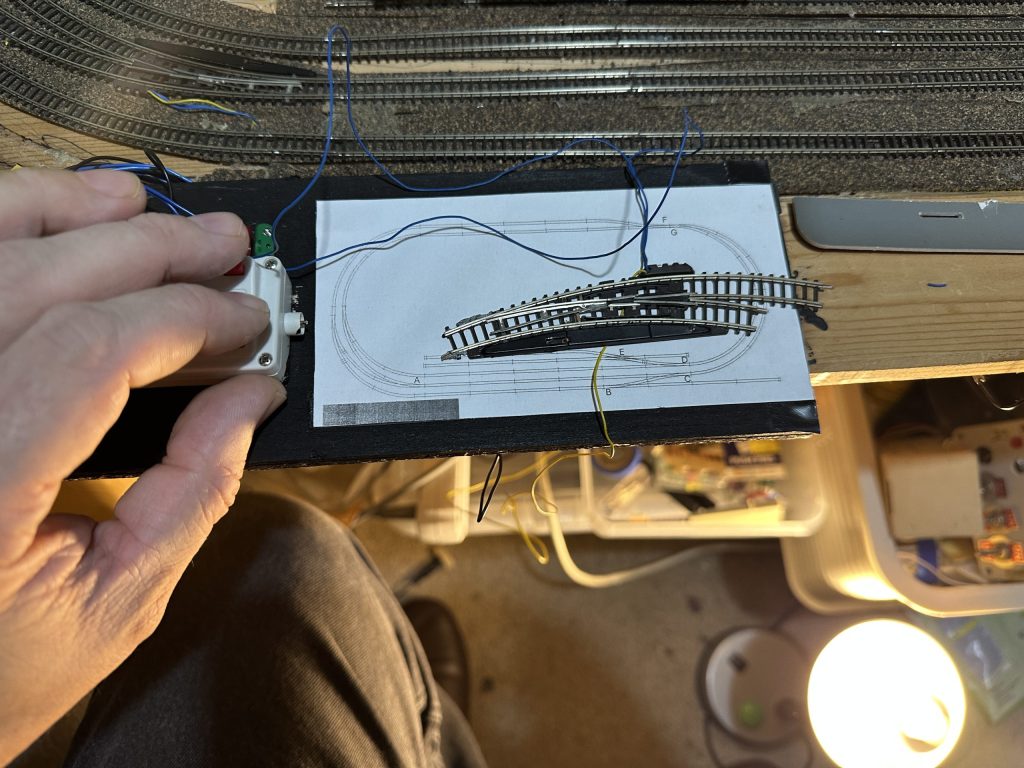
Having found that the curved turnouts (Marklin 8568) where not functioning, I sought out replacements. New ones go for £60+, so I tried my luck on ebay. Sure enough there is quite a good supply of various Z guage track on ebay, and at around half the price.

These two turnouts came from Germany, they wasn’t in their original boxes, but was still very well packaged in plastic boxes – i was impressed by that, I have received other, albeit not quite so fragile, track just stuck onto a piece of cardboard and put into an envelope! (hence i mention no names..)

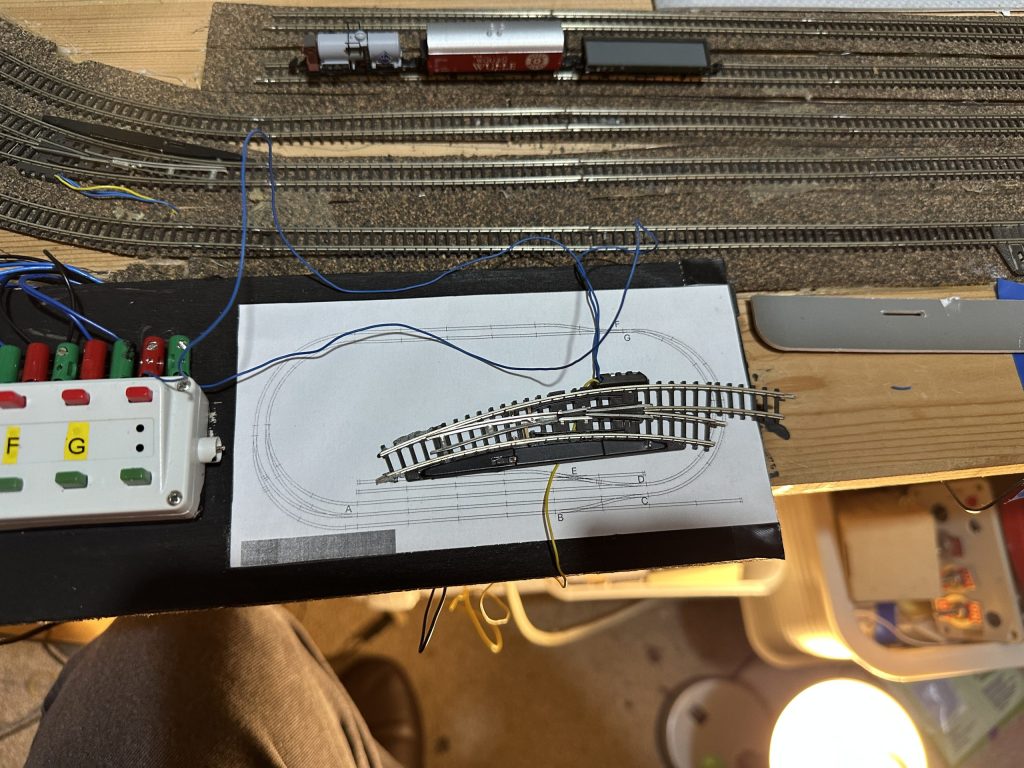
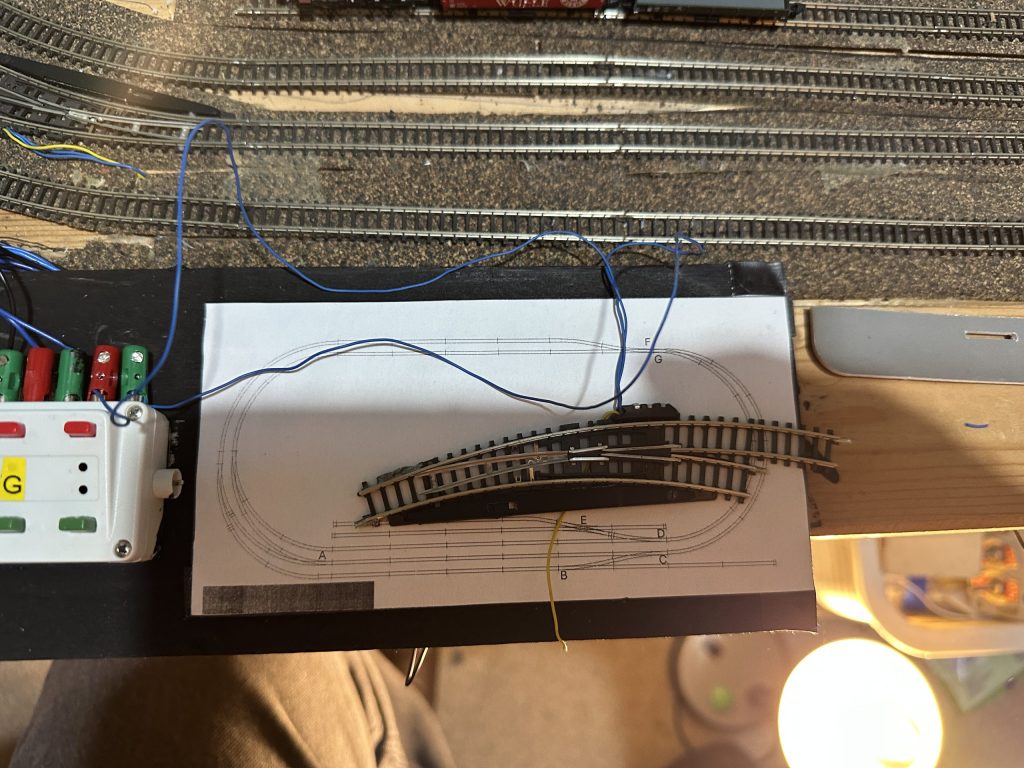
I wanted to make a little bit of progress on getting my Z gauge layout to being as perfect running as possible, and not having these turnouts operating would undoubtely lead to frustration later, so was my first thing to address. Its worth noting the position of these turnouts on the layout, its probably the hardest section to put together as its a set of curved radiuses and that ‘mesh’ the inner and outer loops as shown in the schematic below (ignore the errant 8521 in the top right, thats for somethign else 😉

As you can imagine, I dont want to refit these turn outs and find they are faulty, so set about testing them before installing them.

I first ‘cobbled’ the negative/earth feed from the under-table ground with a long yellow wire, this allowed me to change the turn out easily. I then used ‘temporary’ wire fixtures on the remaining turnout control I have available. Initial results where mixed, but all resulted in the turnout being operated which I was happy for.

I then tidied the turnouts away ready for installation at a later point, as it was already quite late after a day of work – still, it was good to make progress and find some of the other issues with the loco you can hear running in the background.

I’ll make note of these and work thru them so I have better running of my train before doing any more additons to the current layout.

Thanks for reading and watching my blog, I hope it provides some use to others 🙂