After getting all the ground sections working as well as I can, i set about constructing the elevated sections of my Z gauge layout. I designed the layout in xtrkcad to get an idea of how it would work and what parts I would need.

I was quite pleasently suprised at how few parts I actually needed, mostly the largest part was the two sections of flex-track, which done an excellent job, the rest was parts I already had, such as straights and curves.
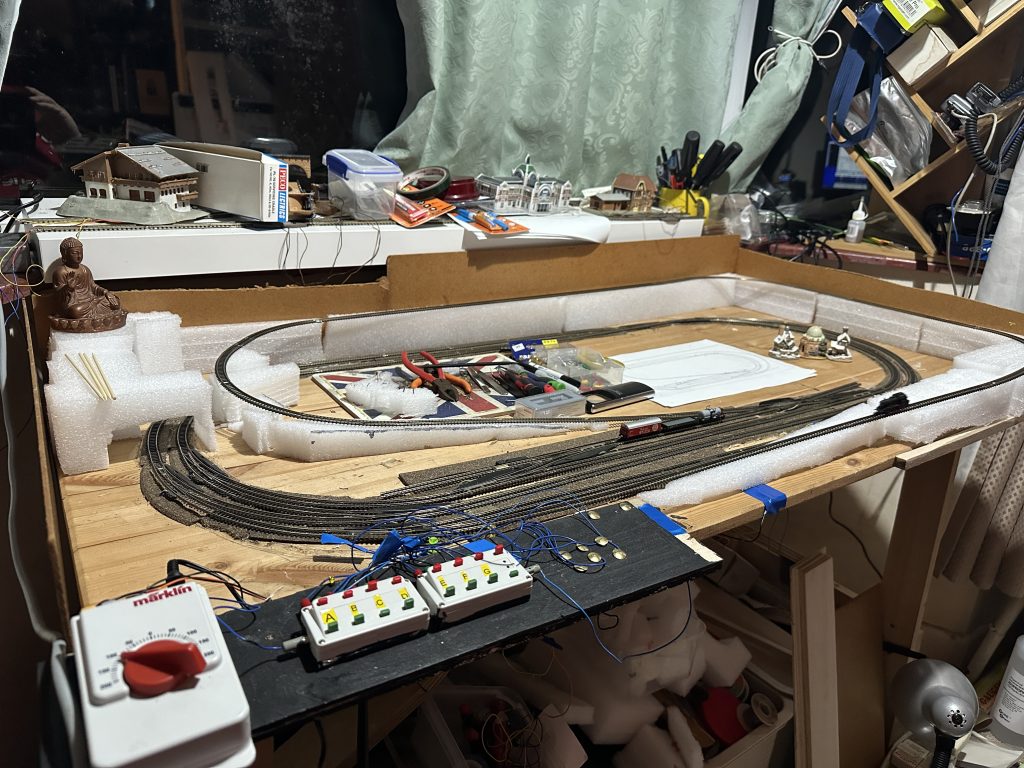
I first setup the boundary walls – haven fallen victim to locos quite literally flying off in the past, i didnt want the same fate to befall my Z gauge loco. This also gave the stability to put the foam I had to supprort the track. I was glad I held onto the packing from the computers/servers I had received, as it was very good foam which cut nicely and cleanly.
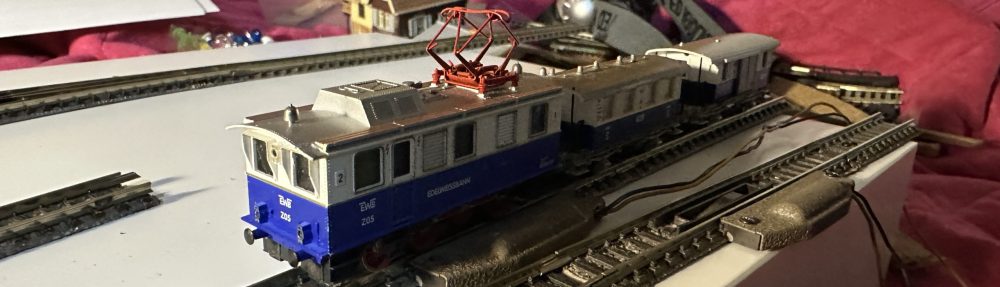
I’ve been running the loco and its mostly run very smoothly, even with wagons the little loco has no problem at 100% power getting up the incline.
I’m really happy that I found a nice Buddah from a local charity shop – as the layout is inspired by our visit to Japan many years ago. The Buddah in Kamakora is 17m heigh, so given a Japanese loco is around 7m from track to top, my loco doesnt look too bad on scale. I also like the little buildings, when I get some kits i’ll see how they compare in terms of scale, but either way I think they look cute!
Next I’ll be fixing the foam in place and making some more supports for the track, probably using balsa wood so it has something ‘firm’ to attach to.
Thanks for following the blog and hope you enjoying, it goes to show just how much can be done in such a small scale!